You don’t need an app. Line stabilization is built in. Most of the stock brushes under calligraphy have it turned on by default.
If you want it on different stock brushes, make a copy and just turn it on however much or little you like. Go to the brush library. Open the settings of any brush you want to change by tapping on it.
Tap on apple pencil on the left side menu. Adjust the size and opacity sliders to the pressure you want to apply. Stabilization and motion filter settings.
Thanks to the new procreate update, stabilization and motion filtering now can be applied to all brushes at once in the pressure and smoothing settings of procreate. To access stabilization and motion filtering settings go to actions > prefs > pressure and smoothing. If you want a sharper tip, move the slider to the left to a lower percentage.
If you want a blunter tip, move the slider to the right to a higher percentage. For a more dramatic taper, you’ll want a sharper tip. The tip animation button controls when.
After downloading the brush pack, pull up the design in procreate. Cory drew some lines to indicate where he wanted to shade. First, he selects one of the line brushes to draw the outline of the design.
When drawing circles or half circles, there's a way to make it a perfect shape. After drawing the circle, hold the. My name’s malaika and i’m going to teach you how to use procreate in urdu and hindi.
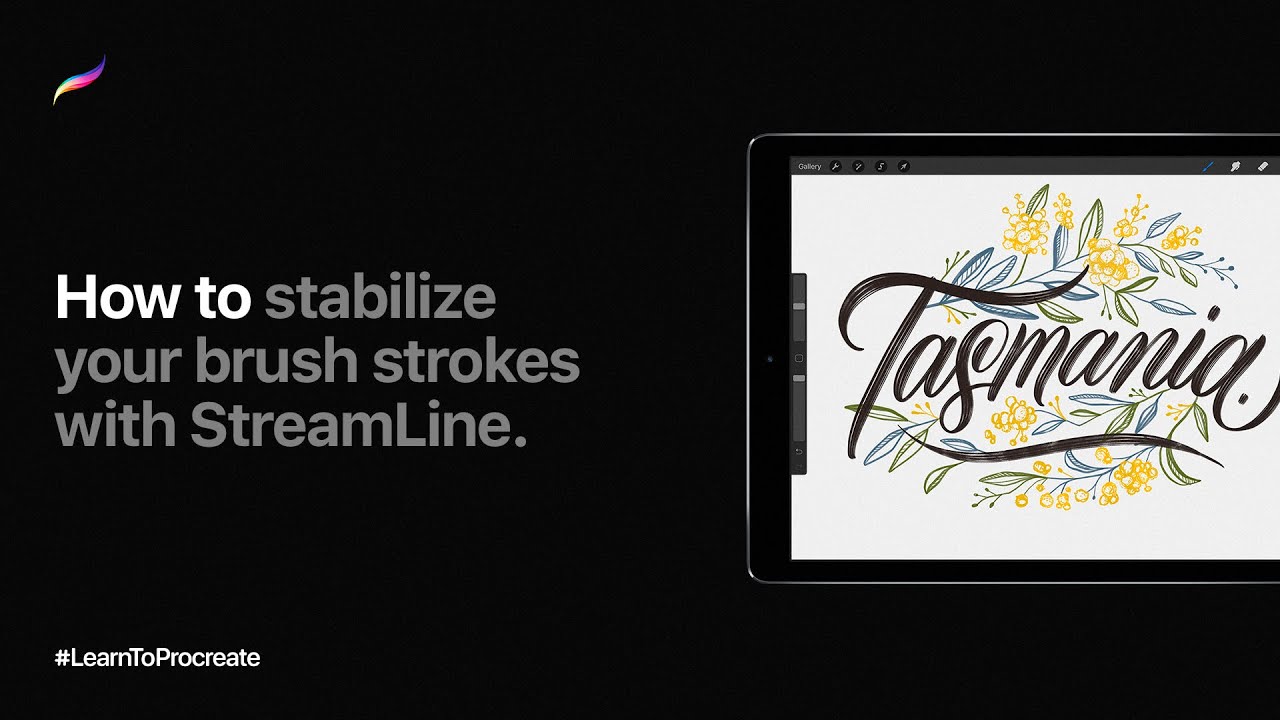
Subscribe to my youtube channel and support me in my art journey. Here's one of the most liked new features in procreate. Make your brushstrokes smoother with the new procreate 5. 2 brush stabilization features.
Adjust the scatter, rotation, frequency, width, and other properties of this shape. Procreate makes brushes with a shape (container) that holds a grain (texture). You can see the shape of any brush when you tap your finger or apple pencil on the canvas.
By doing this, you create a stamp instead of making a stroke. A place for procreate feature requests and constructive feedback. Before posting, please utilise search to see if your suggestion has already been raised, and add your voice to existing threads where possible.
A place for procreate feature requests and constructive feedback. Before posting, please utilise search to see if your suggestion has. This protects your original version in case you wish to revert back later.
If you'd like to know how to duplicate a brush in procreate, open the brush panel, swipe left on the brush thumbnail and choose ‘duplicate’. Push the size limits. Add brush from within brush library.
To do it, open the brush library and tap the white + (plus) icon on the top right corner. Navigate to where your brushes are located. The imported brush/es (. brush files) should appear in a set named imported near the bottom of the brush library.
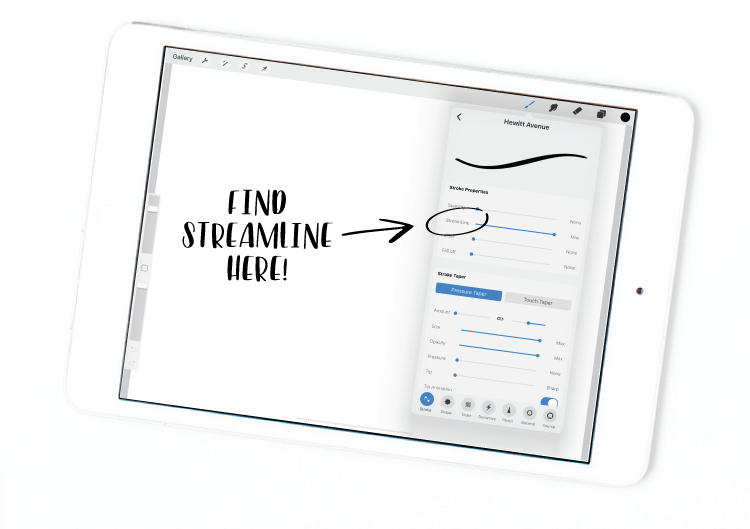
How to turn on stroke stabilization per brush in procreate 1. First, open any of your existing artworks or create a new one. You can tap the “+” button at the top right corner of.
Procreate makes brushes with a shape (container) that holds a grain (texture). You can see the shape of any brush when you tap your finger or apple pencil on the canvas. By doing this, you create a stamp instead of making a stroke.
Dragging this shape creates a stroke. A smooth circular shape will create a smooth even stroke. Here are some possible ways for you to organize your brushes.
Put all of your markers in one folder; Your lettering brushes in one folder; Your watercolors in one folder;
Your pencils in one folder. You get the picture. If your brain thinks in “mediums,” this will be the option for you.
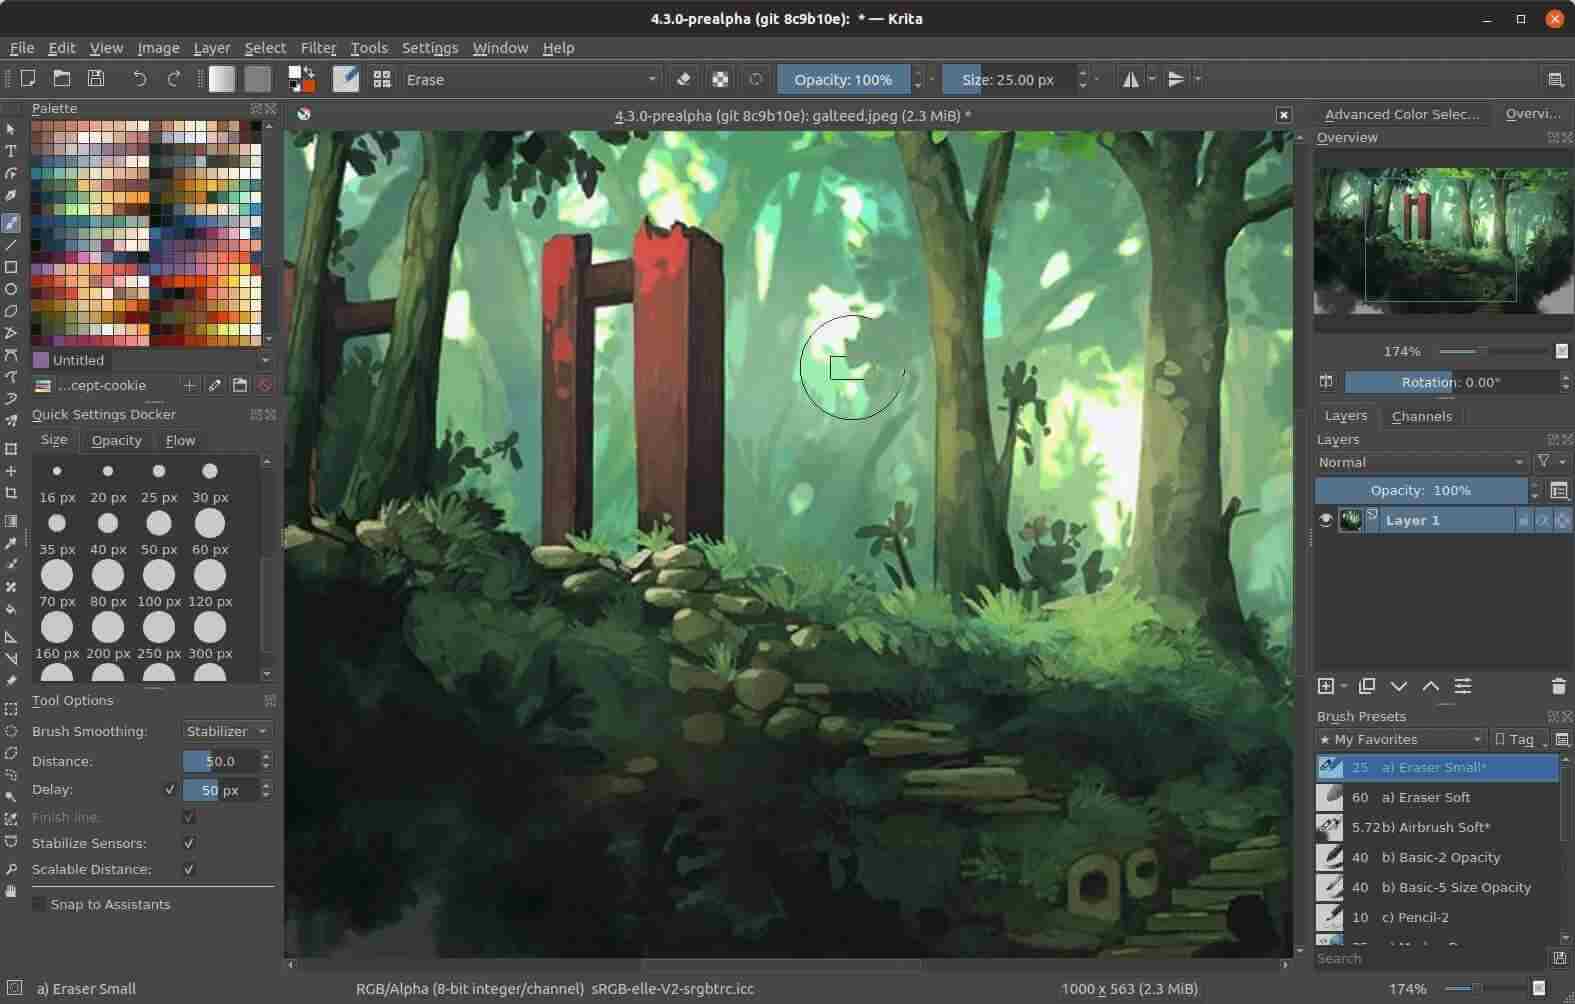
Apply the highest possible smoothing for the tool you are using. Start drawing a line, then hold for a second. The drawn line will become perfectly straight, and you can continue drawing the line by pulling the end out to the desired length.
Keep the original line short for a straight line. If you draw your original line too long, and/or with.