Select [import] from the menu button in the dialog. Open to where the brush is saved, select the brush file you want to import. This screen is displays differently depending on your device type.
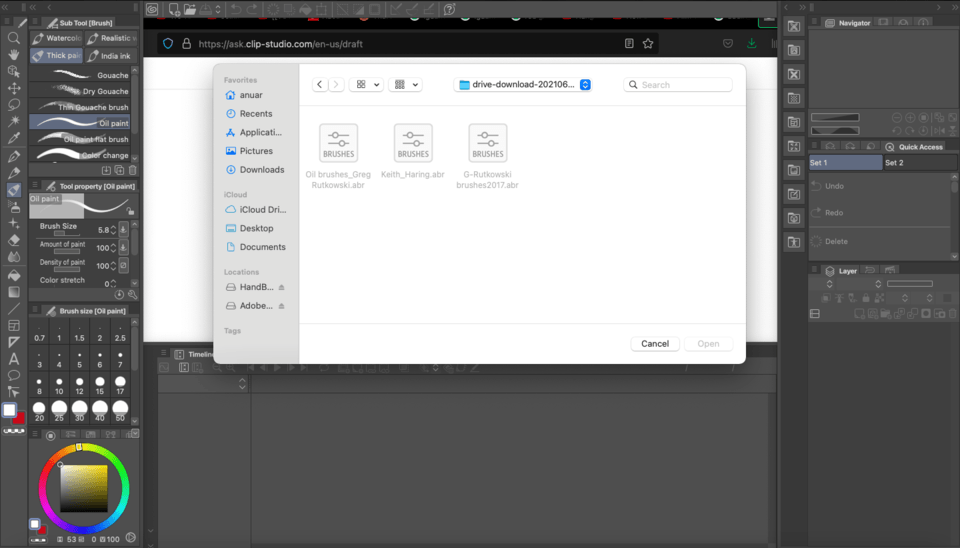
Select the brush file you want to import and tap [open]. The brush file will be imported as a sub tool. From the brush menu in photoshop, click on “save brushes…” as shown above to save the current brush presets to a file.
Select the location to save the brushes and type in a file name. Once you’ve completed this step you will have an. abr file that contains your ps brushes, and that is what we’ll use to move these tools to clip studio. Couldn’t find an answer to your problem?
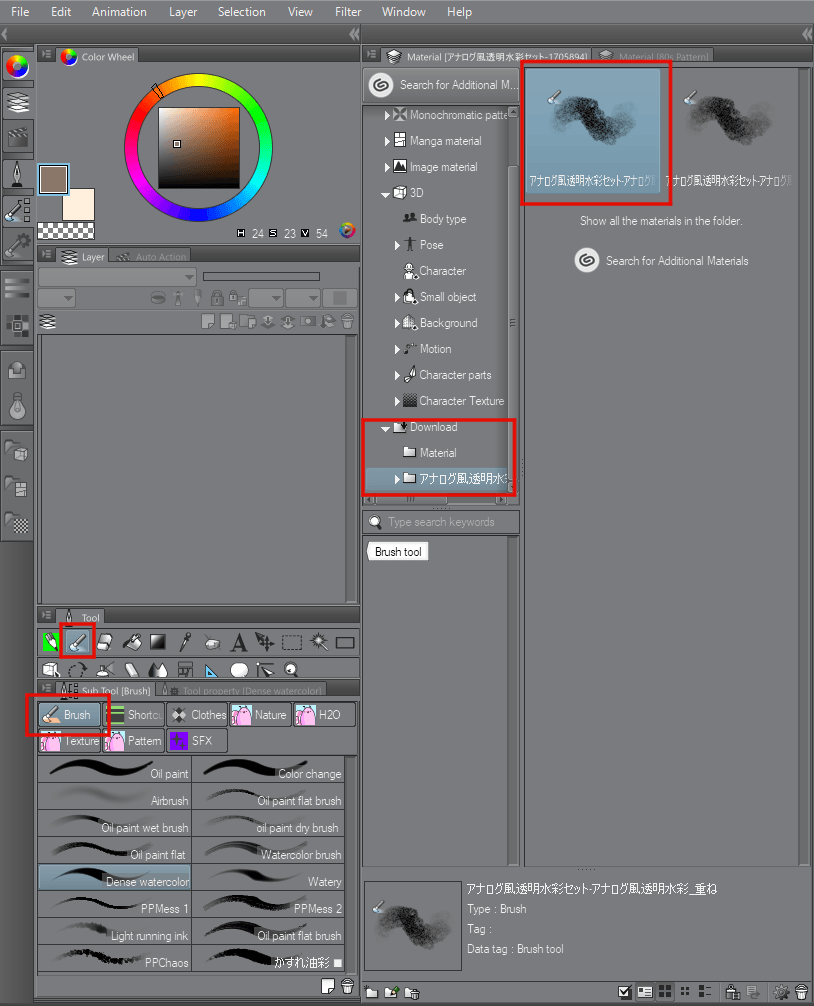
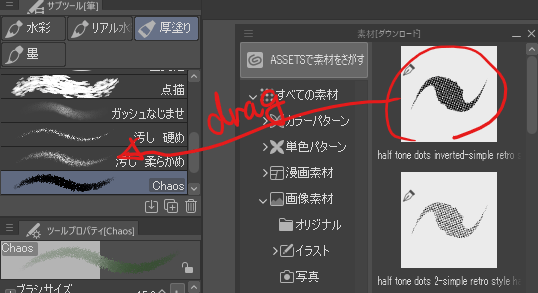
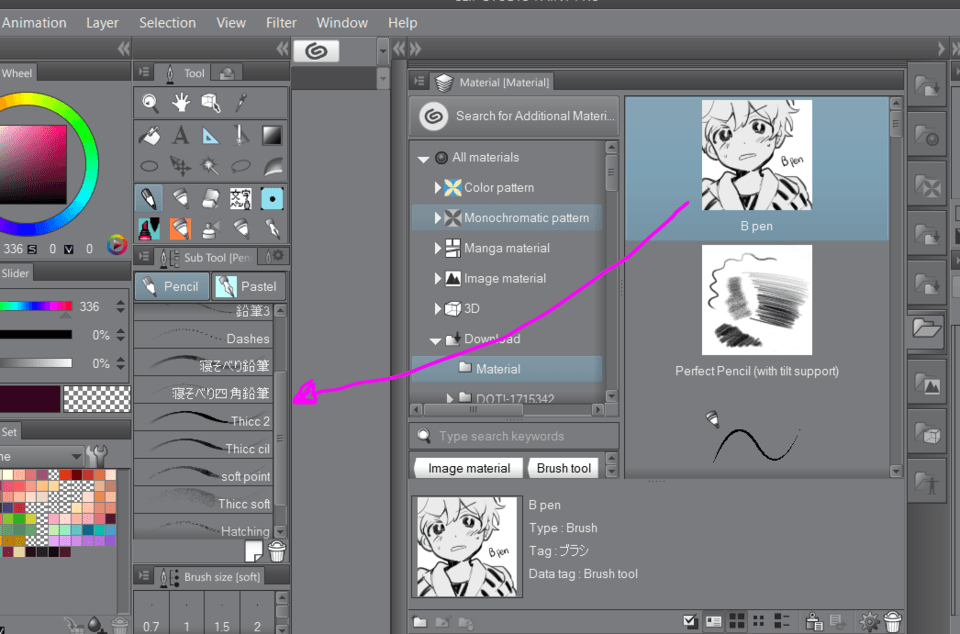
If you downloaded a brush from clip studio assets, the brush is located in the downloads folder in the materials window. [window] menu → material → select one → [material] window opens → open [download] folder → select the brush you want to use → drag and drop on the sub tool window. You can use it this way.
Select load sub tool from the menu. Importing via drag and drop on the ipad 1. Open the clip studio paint app.
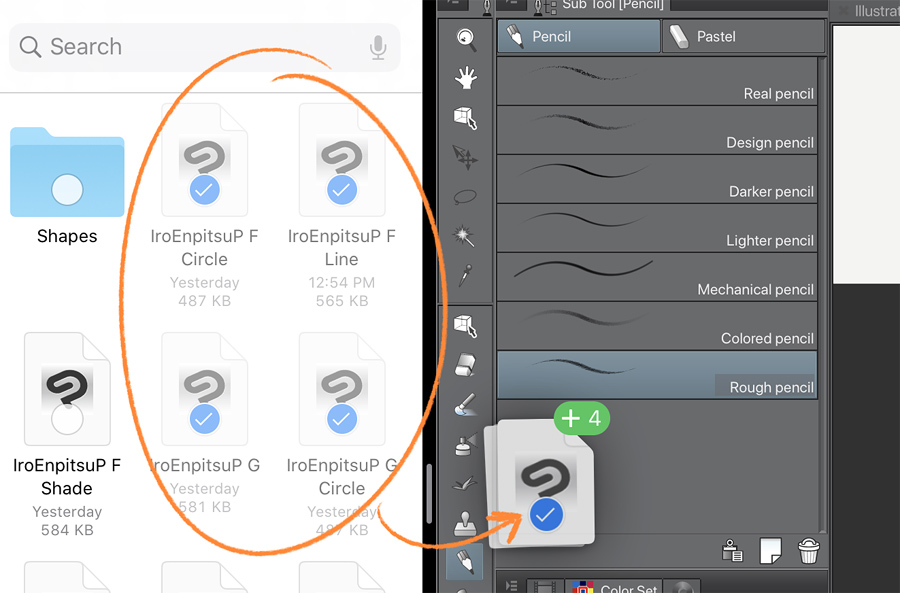
Drag the files app from the dock at the bottom of the screen and place it next to the clip studio paint app. Import the brush file by dragging it into the sub tool palette. Easiest would be to group them first or to select the ones you want with shift click.
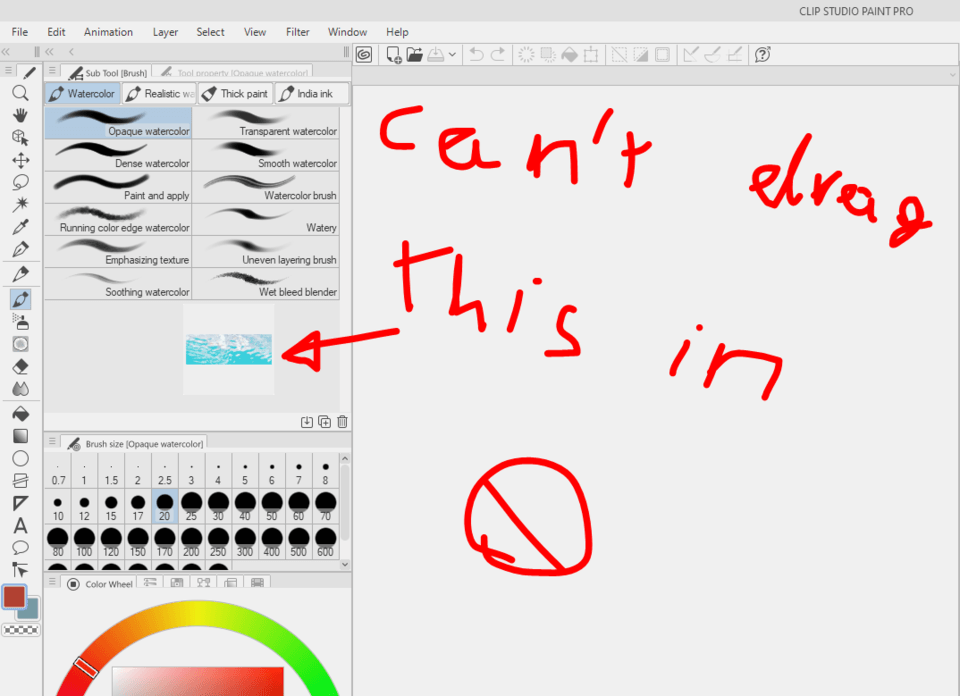
It will not allow you to import it unless you drop it in the brush section. Drag a material from the “download” folder of the [materials] palette toward the [sub tool] palette. Drop the material once it’s displayed above the [sub tool] palette. but it didn't do anything.
I mean the brush is still on the download folder, but nothing new is. 1. 10. 5 from ver. 1. 10. 5, new items have been added to the brus.
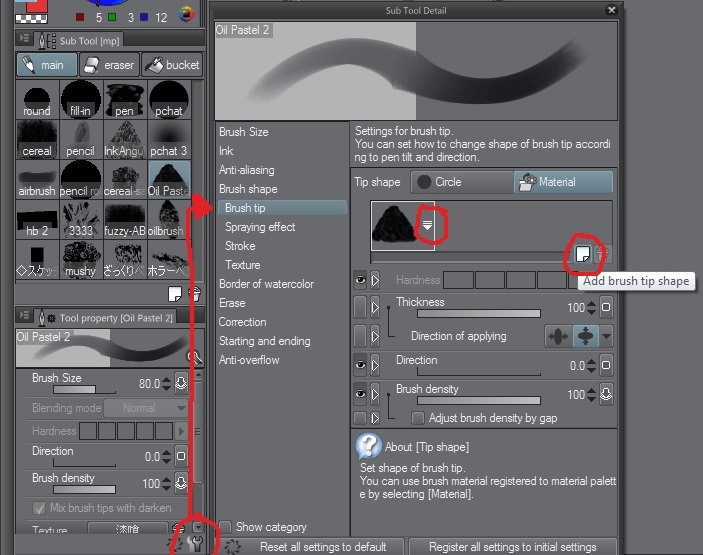
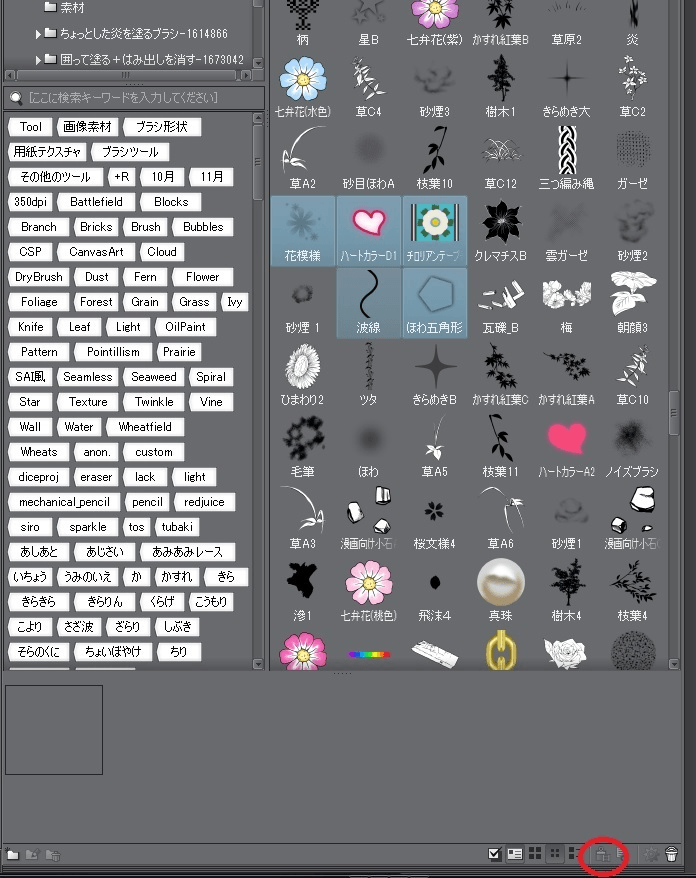
This video shows you how to bring in brushes and other materials into your clip studio paint program from your assets manager for both pc and ipad users. I think there is a check item in the upper left of the thumbnail image of material management of clip studio. You can add it by checking multiple brush materials you want to add and dragging and dropping.
If you scroll to the bottom inside the sub tool palette, you will see + add sub tool (there is a similar shortcut icon at the bottom. Make sure your files are visible in your file manager. Make sure clip studio paint is open.
And the [sub tool] palette is visible. Select the tool you want to import them under. Select the downloaded brush/sub tool files in the file manager.
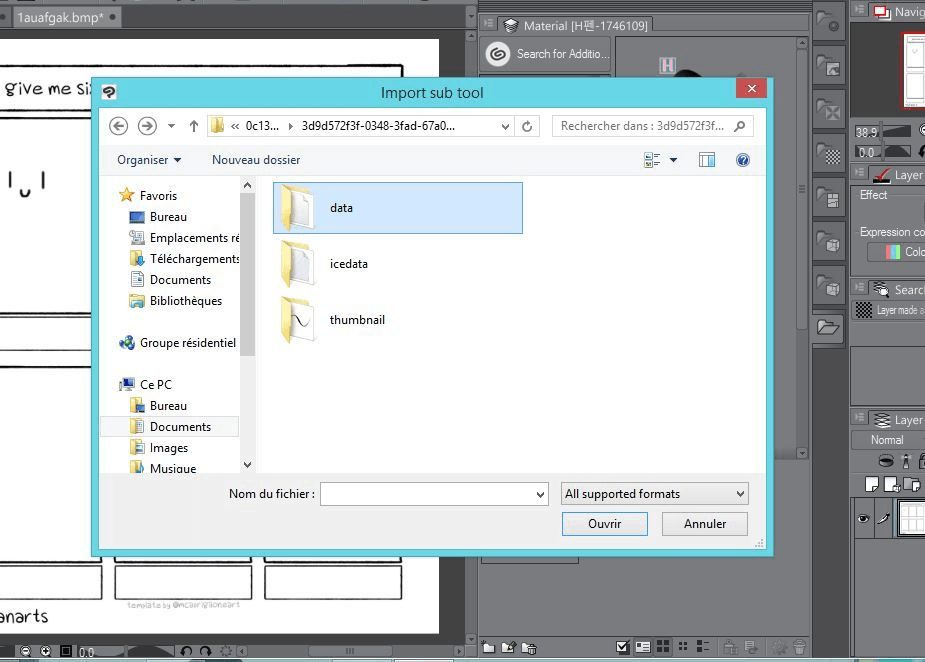
Click the menu button in the upper left corner of the sub tool palette. Select [import sub tool]. Open to where the brush is saved, select the brush file you want to import and click [open].
The brush file will be imported as a sub tool. Let take a look how to import in cspi hope this helped :) **please click more**release note : Importing brushes in clip studio paint.
Importing brushes in clip studio paint is fairly easy, as long as they’re specifically made for clip studio. These brushes are usually named with the. sut extension! There are actually two ways to import brushes.
A more complex one, but not too much, basically it just take quite a few extra steps. Hold down shift or ctrl key and click the brush to make multiple selection, drag, by clicking the red circle paste button, you should be able to move multiple brushes together to the sub tool palette. Select [import sub tool].
Select [import] from the menu button in the dialog. Open to where the brush is saved, select the brush file you want to import and click [open]. Select the brush file you want to import and click [open].
The brush file will be imported as a sub tool.